How to Grow Food From Seeds
Have you ever been able to get a seed to sprout, only to find it wilted away the very next day? Or maybe you planted a seed, watered it, and waited and waited, but nothing ever grew? Starting seeds can be a little tricky, but by following these simple steps, anyone can be successful! Below, learn how to grow food from seeds and comment with any questions that you may have. We’re here to help!
Step 1: Pick your plant!
No matter what you are growing, March is a great time for almost all seeds to sprout. Some plants (tomatoes, squash, cucumber, peppers, watermelon, pumpkins) need warm weather to get going, while others (spinach, broccoli, cauliflower, lettuce) need a little cold weather to get started. March has both kinds of weather, so almost any plant will be ready to sprout if you plant it this month. P.S. Did you know you can buy seeds with your SNAP dollars at any SNAP accepting store that also sells seeds?
Step 2: Find some space for your little plants.
Do you have space inside or outside? If you are starting your plants inside, you will need to find a light that can be on them very closely at least 12 hours per day, with 15 being ideal. If you are starting them outside, you should make a “mini-greenhouse” for them out of an old milk container or big plastic lettuce container. Make sure to cut several little holes in the container so air can flow, and set it somewhere outside where it will get several hours of sun every day.
Step 3: Spread some soil and keep it moist
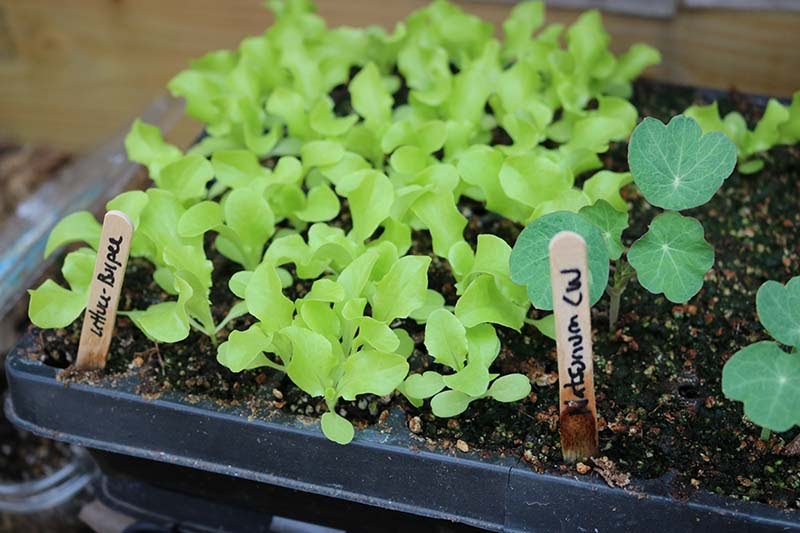
A potting mix should be good for getting your seeds started. You’ll want something light and fluffy! Press it into whatever container you are using for growing your plants (milk carton, egg carton, seed starting trays, almost anything will work). Add water until all the soil is moist, but not soaking wet. In order for your seeds to sprout, you need to make sure your soil stays moist but not soaking wet at all times! Too much or too little water is a big reason seeds do not grow.
Step 4: Plant your seeds
Put two to three seeds per hole to make sure at least one comes up. A good rule of thumb for how deep to plant seeds is two times as deep as the seed is big. Some teeny tiny seeds can just be sprinkled right on top of the moist soil. Leave a few inches of space between seeds so that you will be able to transplant them into the ground or a bigger pot after they have grown.
Step 5: Watch them grow!
Seeds will start coming up anywhere from a few days after you planted them to a few weeks. If they are outside, they will probably take longer than if they are in your warm house. Every few days check your soil to make sure it’s still moist. You will probably have to add more water to the inside plants more often than the outside ones.
Last Step! Transplant
Once your plants have grown many leaves and are looking too big for their containers, it is time to move them to their permanent home. You can either plant them in the ground, or in a big pot outside. If you are moving plants from inside to outside, you need to move them out gradually so they can adjust to the wind and colder temperatures. Set them outside for a few hours at a time each day, slowly increasing the time they spend outside over the course of four or five days. This process is very important! If you started your plants outside, they are already strong and ready to go.
We hope you found this information helpful and you were able to learn how to grow food from seeds. Remember to comment with your quesitons!
Click here to learn how to transplant your plants once they have outgrown their containers!


Jenna, thanks for the great ideas. I didn’t know I needed to gradually transition my indoor new sprouts to outside before transplanting. Great tips. I am a new gardener on the shores of Lake Sammamish in Bellevue, Wa. Looking forward to veggie season. Elaine says hi.
I want to try planting seeds inside. Thanks for the info.
Mary,
Thank you for your comment! I hope this info helps you with your garden. Please let us know if you have any questions.
Good luck!
This sounds like something fun and educational for us as a family! Thanks
Helpful information! Thank you